If you’re using NinjaTrader for futures, CFDs or algorithmic strategies, migrating your setup to a new virtual private server doesn’t need to be painful. It’s typically just a matter of copying over the custom indicators, chart templates, ATM templates, and workspaces—and then making sure your broker feed and data‑connection remain intact.
In this post we walk you through a 7‑step process for doing this migration cleanly. Plus we’ll show you how using TradingVPS gives you the extra edge: ultra‑low latency, high‑uptime, professional‑grade hardware, and pre‑installed NinjaTrader, so your transition is smooth and your live‑trading environment is rock‑solid.
Why Use a VPS—And Why TradingVPS Elevates Your Setup
Why a VPS Matters for Trading
In today’s fast‑moving markets even milliseconds count. Latency—the time between you placing your trade and your broker executing it—can directly impact slippage, execution price, and strategy performance.
A proper trading‑VPS locates your trading platform close to your broker’s servers, gives you dedicated CPU/RAM, high‑end network connectivity, and runs 24/7 free of local power or internet outages.
Why Choose TradingVPS
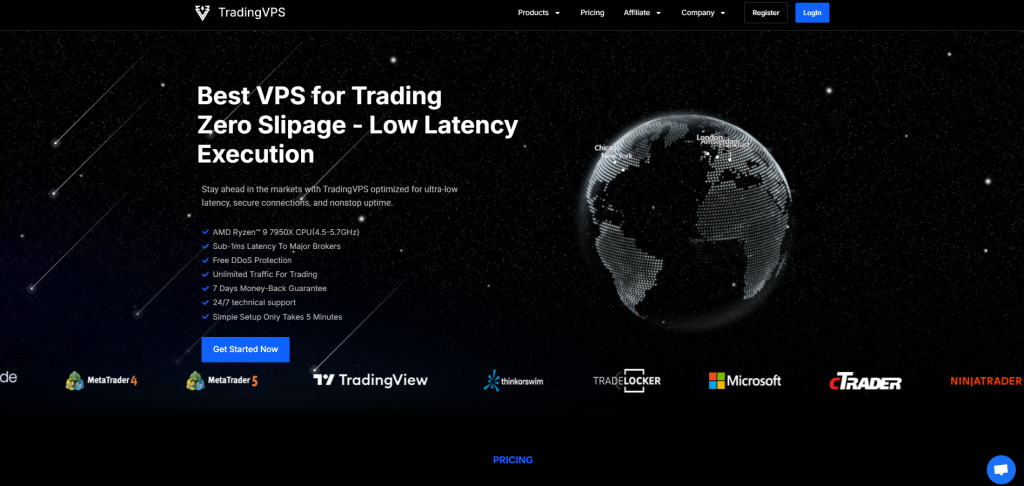
TradingVPS is built specifically for professional‑level trading infrastructure. Key benefits:
- Optimized infrastructure & global location choice: You get VPS servers in major financial hubs — Chicago (near CME Aurora), London (LD4 Equinix), New York (NY4 / Equinix) and Frankfurt (DE‑CIX). That means ultra‑low latency to major brokers.
- High‑end hardware: Pre‑configured Windows Server 2022 with AMD Ryzen 9 7950X, DDR5 RAM, NVMe Gen 4 storage.
- Pre‑installed NinjaTrader: Your NinjaTrader environment is ready‑togo on the new VPS.
- 24/7 uptime + dedicated resources: 99.99 % SLA, DDoS protection, daily backups, dedicated CPU and bandwidth (no shared resources).
- Encrypted remote access, global access.
In short—when you migrate your NinjaTrader setup onto a TradingVPS instance, you’re not just moving your old environment: you’re stepping up into server‑grade performance and reliability.
Migration Checklist: 7 Steps to Move NinjaTrader to Your New TradingVPS
Here’s your full roadmap to transfer your NinjaTrader setup to a new VPS provided by TradingVPS.
1) Set up Your New VPS & Connect NinjaTrader
Sign into your new TradingVPS instance. Since we provide a pre‑installed NinjaTrader on Windows Server 2022, you will have NinjaTrader installed, ready to connect.
Ensure you connect your broker feed/data feed and verify everything is working: charts loading, live quotes, trade execution path working. This ensures the core platform is functional before moving your custom files.
2) Locate All Your Custom Files on the Old VPS
On your old VPS (or old machine) identify everything not included in the base NinjaTrader install. This includes:
- Custom indicators and NinjaScripts
- Chart templates
- ATM templates
- Workspaces (layouts, workspaces .xml etc)
These are the items you’ll be migrating manually.
3) Create a Transfer Folder on the Old VPS Desktop
To keep things organised create a folder on the old VPS desktop (for example: NT‑MigrationSet). Inside, make sub‑folders: “NinjaScripts”, “ChartTemplates”, “ATMTemplates”, “Workspaces”. Copy all your custom files into these respective sub‑folders.
4) Copy That Folder to the New VPS Desktop
Open both the old and new VPS desktops. Right‑click your NT‑MigrationSet on the old machine → Copy. Then switch to your new TradingVPS desktop → Right‑click → Paste. Wait for the transfer to complete.
5) Move the Files to the Correct Locations on the New VPS
On the new TradingVPS instance:
- For custom indicators/NinjaScripts: move the files from your “NinjaScripts” folder into
Documents\NinjaTrader…\bin\Custom(or the path you use) - For chart templates: move into
Documents\NinjaTrader…\Templates\Charts - For workspaces: move into
Documents\NinjaTrader…\Workspaces - For ATM templates: import or place into the appropriate ATM folder.
Ensure you mirror the folder structure you used previously to minimise “file not found” or missing template errors.
6) Install Each NinjaScript One‑by‑One
Launch NinjaTrader (on the new VPS). Via the NinjaScript Editor or the import wizard, install each custom indicator/strategy you migrated. This ensures they are properly registered in NinjaTrader and any dependencies are resolved.
By importing one by one you reduce risk of missing assemblies or conflicting versions.
7) Restart NinjaTrader and Verify Everything
After the import & file placements are done, restart NinjaTrader on your TradingVPS. Then:
- Load one of your known workspaces: ensure chart templates, indicators, ATM templates appear as you expect
- Confirm your broker feed/data feed is live and you have connectivity
- If using algorithmic strategies or auto‑trade, verify they run smoothly
Once confirmed—you now have effectively the same environment you used previously—just upgraded to the robust TradingVPS infrastructure.
Additional Best Practices & Tips
- Backup everything before beginning: On your old VPS/data, create a full backup of your
Documents\NinjaTraderfolder and any custom settings—just in case anything is missed. - Match NinjaTrader version: If your old environment used NinjaTrader version X, ensure the new instance uses the same version (or confirm compatibility) to avoid version‑mismatch errors.
- Keep folder structure consistent: Using the same directory paths ensures NinjaTrader finds your templates/workspaces without manual re‑configuration.
- Test with a small trade or simulation first: Before going fully live, test that your platform, feed, custom scripts and execution path all work under the new setup.
- Keep the old VPS live temporarily: Do not immediately shut down your old VPS—retain it for 24‑48 hours as a fallback in case you discover something missing.
- Document your custom files: Maintain a list of all custom indicators, templates and workspaces you migrated so you can double‑check nothing was overlooked.
- Leverage the benefits of TradingVPS: With the ultra‑low latency locations, high‑end hardware, dedicated resources and pre‑installed NinjaTrader, you reduce execution risks, slippage and downtime associated with home setups or generic VPS solutions.
Conclusion
Migrating your NinjaTrader environment to a new VPS, especially when moving to a professional‑grade service like TradingVPS, doesn’t have to be stressful. By following the 7‑step process above—set up the VPS, copy your custom files, import your scripts, restart and validate—you’ll preserve all your custom workflows while elevating your trading infrastructure.
With TradingVPS you gain ultra‑low latency, high uptime, dedicated hardware and a pre‑installed NinjaTrader environment—meaning you spend less time on IT and more time focused on your trading edge.
If you’re ready to make the jump, your new setup will have you back in action quickly, reliably, and optimised for performance.